

How to Set Up a Laravel Project After Cloning from GitHub
The 3 important things you must do after cloning a remote Laravel app from GitHub


Understanding how GitHub and Laravel work
How GitHub Works
First off, the maximum file size for GitHub is 50 MB for the normal account (Free Plan) and it increases if you have GitHub Pro, GitHub Team, or GitHub Enterprise.
The question arises How is it that I have projects which are more than 50 MB in size and I can still store them in GitHub?
This is because packages are what contribute to the large size of projects. So when pushing a project to GitHub, the packages and dependencies don't get stored.
Instead, there is a special file that keeps track of all the packages and dependencies used in the project. So that when someone else clones the project, they get that special file and they will download all the required packages and dependencies via that special file.
These special files include package.json for Node applications and composer.json for PHP applications.
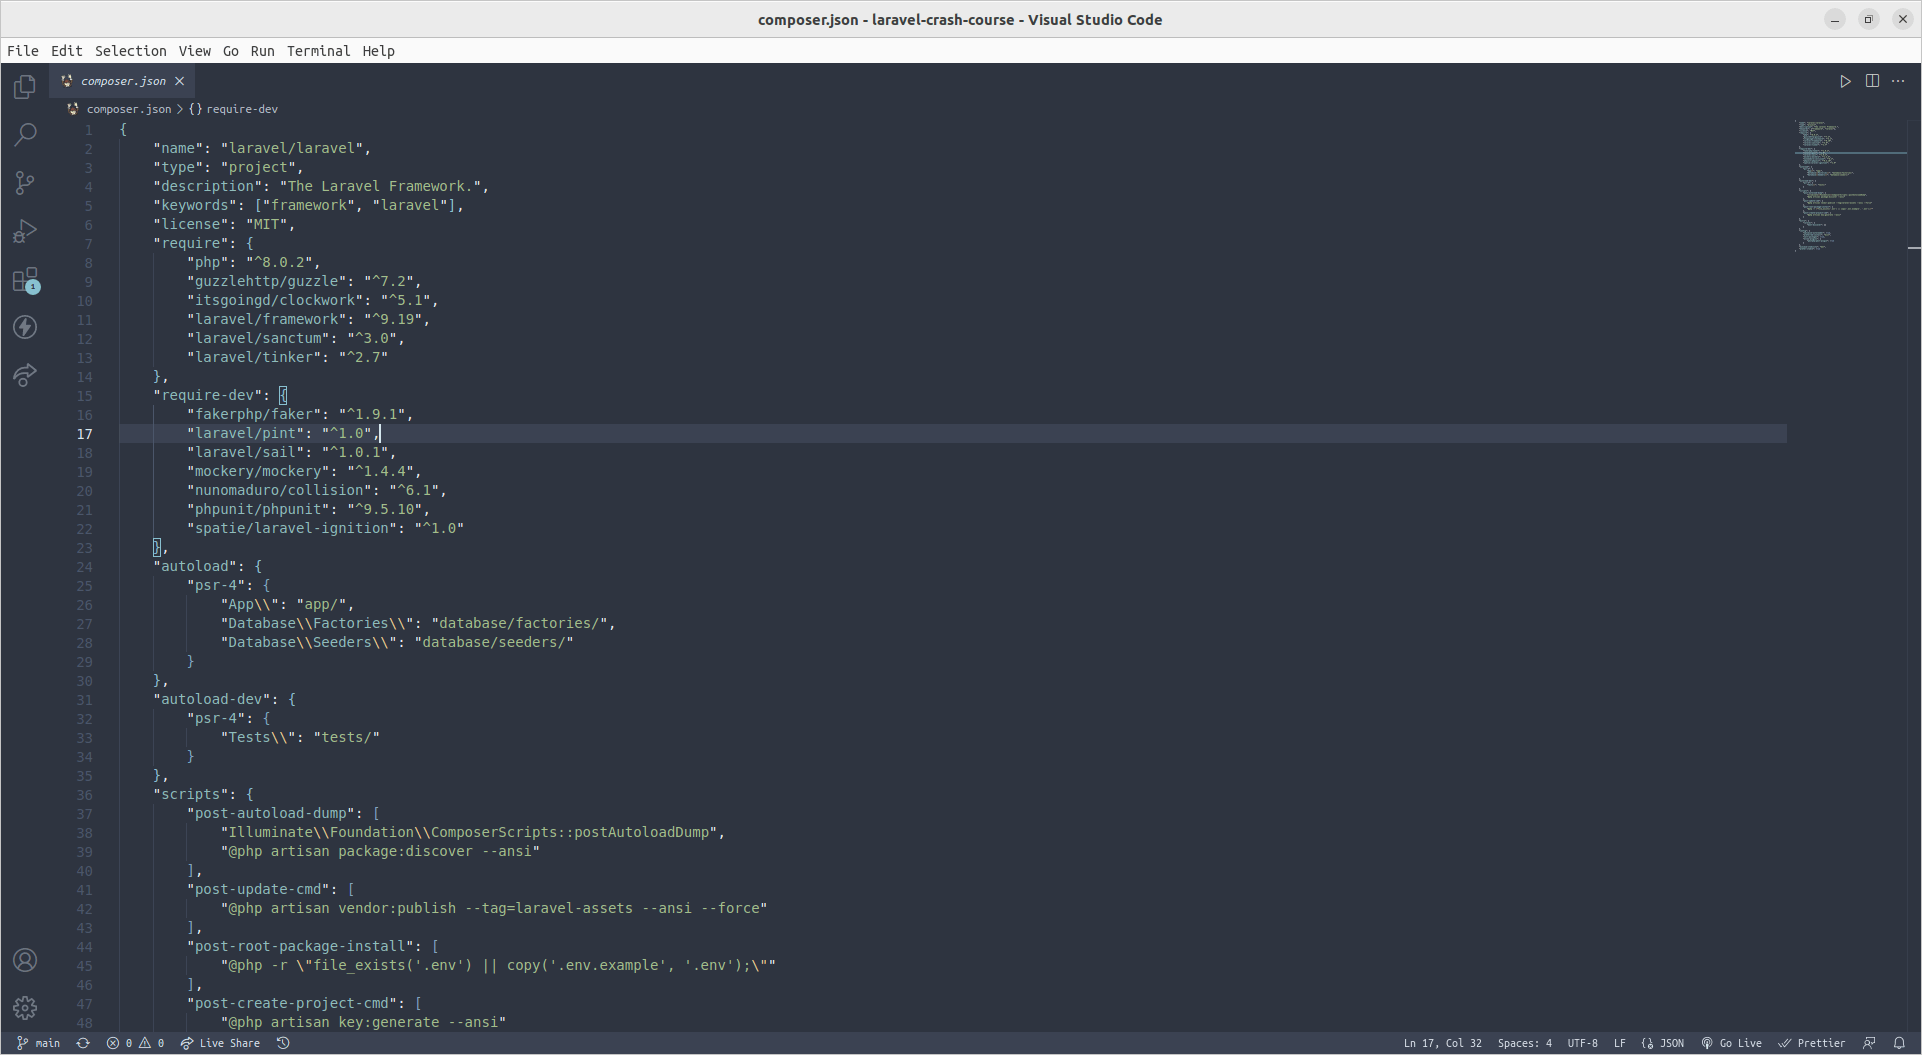
An example of composer.json file
How Laravel Works
Laravel being a PHP framework, uses composer.json to keep track of its dependencies. And boy, Laravel has a lot of packages and dependencies. A fresh install of Laravel 9 comes with about 50 MB.
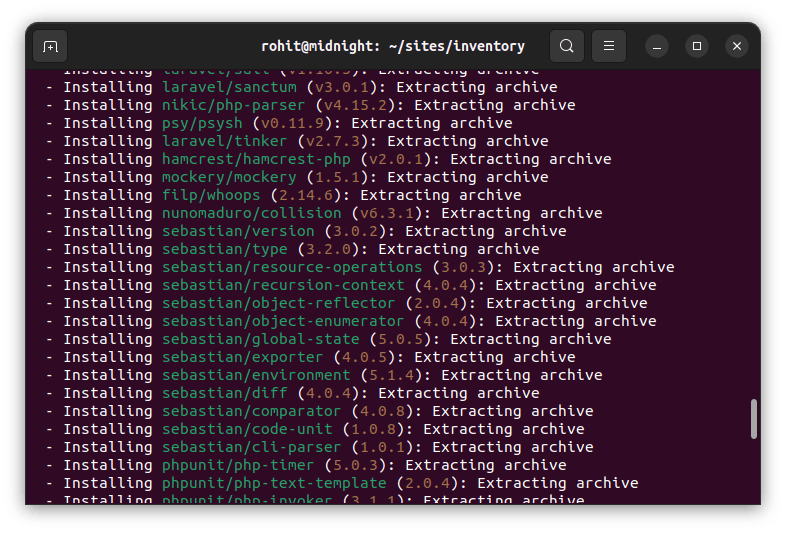
Packages and dependencies installing.
All these get are stored in composer.json
Environment Configurations
There is a .env file that contains environment configurations that will change from different machines and whether you're running locally or in production.
By default, when pushing a project to Git, the .env file is not pushed because it is added to the .gitignore file. This is because of different reasons including:
Hiding secret information such as database username and password.
Avoiding pushing one user's local environment configuration so all the other collaborators can get the same configuration too.
Laravel App Key
One of the things found in the .env file is APP_KEY field. This field is used to store a random, 32-character string that is used for your application's encryption.
This is also not pushed to GitHub. This is why you might have encountered something like this when you cloned a laravel repo.
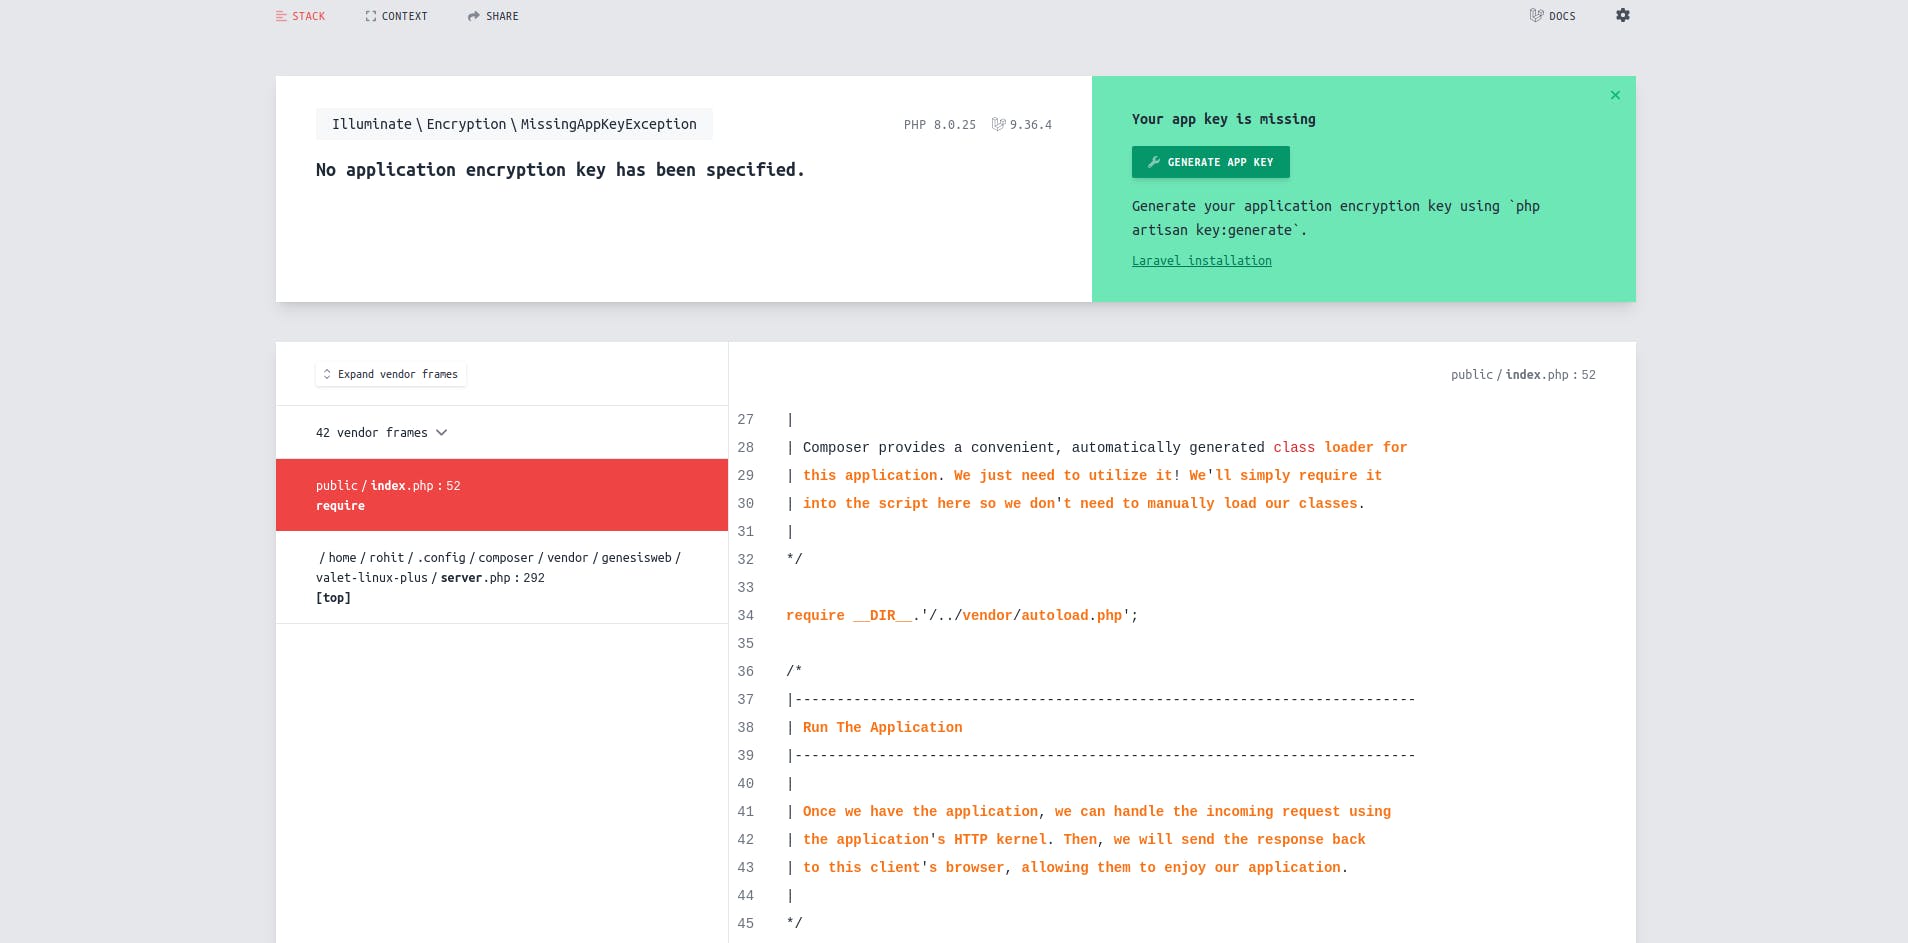
If you want to know more about application key, you can read this article
Now that we know how Laravel and GitHub work. Let's see what we should do to set up our Laravel app from a remote repository.
Assuming that you already have cloned your laravel project
git clone https://github.com/rohitgulam/laravel-crash-course.git
Change the directory to it
cd laravel-crash-course
1. Installing Packages and Dependencies
Now that you're inside your project directory, you will notice that it has a size of less than 1 MB. This is because the packages and dependencies are still not installed.
To install them, you have to run the following command on your terminal
composer install
This will install all the required packages and dependencies.
After it finishes installing, you will now notice that the size has increased to almost 50 MB (The size will depend according to your app). This means that the packages and dependencies have been installed.
You might also need to install node packages if your app uses them. For this, you have to run
npm install
2. Generating Environment Configuration File
Now that you've already installed the packages and dependencies, the next step is to generate the .env file.
When you install a Laravel app, it always comes with .env and .env.example files.
While the .env file is not sent to GitHub, fortunately, the .env.example file is sent to GitHub. So when you clone a Laravel app, you get the .env.example file too.
This file is important as we will use it to create our .env file.
To create the .env file, run the following command
cp .env.example .env
This will copy the contents in the .env.example and create a new .env file and paste the contents there.
Now, all that you have to do is set a couple of things. Set your database name, username, password, and all the other details that you need.
After this, you're good to go to the next step.
3. Generating Application Key
Now that we have our .env file, you may notice that the APP_KEY field is still empty.
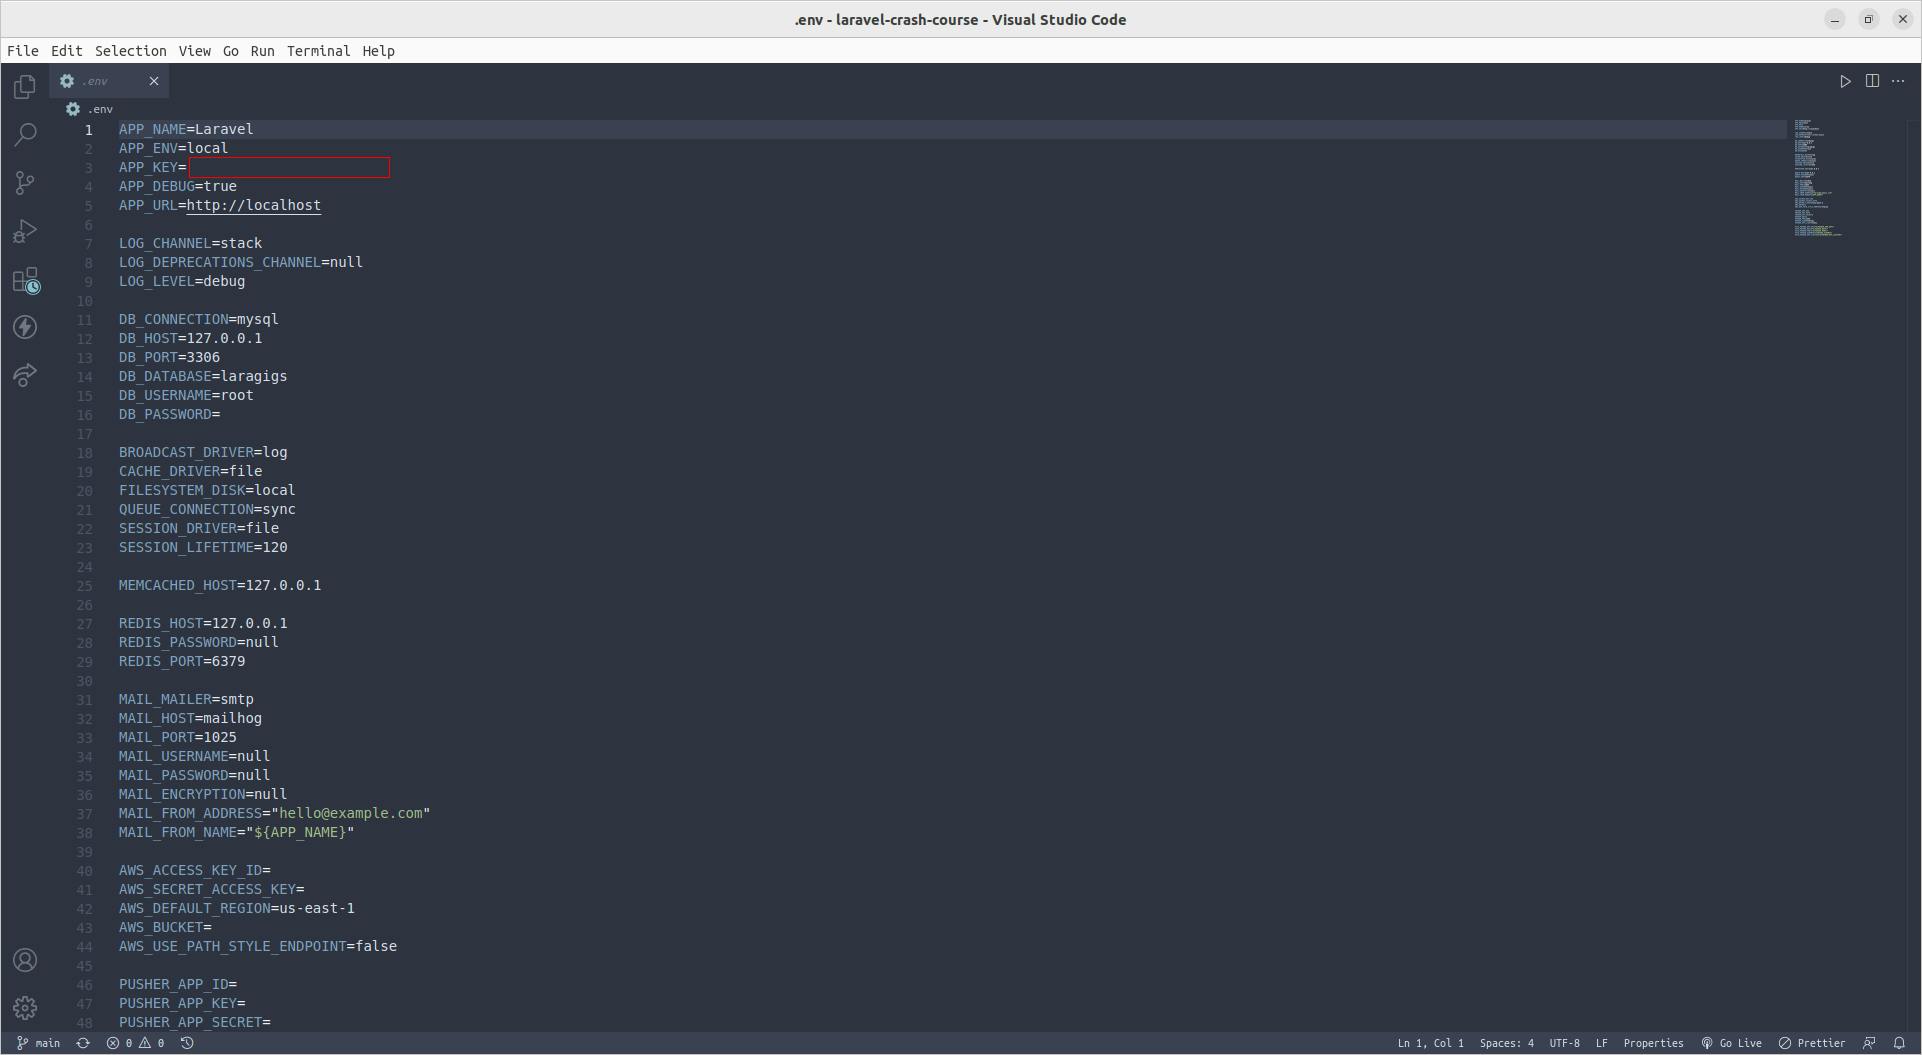
As long as it remains empty, your Laravel app won't be able to run.
To generate your application key, run this command
php artisan key:generate
If this runs successfully, your application key will be generated.
Now you will be ready to run your Laravel app.
Conclusion
By following all the above steps, you will be able to set up a Laravel app on your local machine from a remote repository.
You can now resume with the normal stuff such as running migrations and so on.
tl:dr
The 3 steps you have to do are;
Running
composer installand/ornpm installGenerating
.envfile by runningcp .env.example .envGenerating application key by running
php artisan key:generate
I hope you found this article informative.
Until next time!